|
Objective:
Define the meaning of mummy.
Understand the
mummification process.
Timeline:
1
to 2 weeks
Key
Words:
mummy
mummification
entombment
embalmers
dehydration
canopic
jars
sarcophagus
Materials:
word processor (Microsoft Word) Presentation
Software (Microsoft PowerPoint)
digital
camera
Smart
Board
or Enfocus projector
|
|
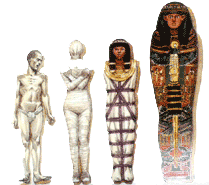
Procedure:
-
Write the word Mummies on the board or overhead projector,
ask students to brainstorm what they know about mummies. You may ask
these questions: What is a mummy? Where have mummies been found?
-
Explain to students that a mummy is a preserved
body which has undergone the process of embalming. It involves drying
a body with sunlight, fire, smoke, or chemicals, which removes the
moisture that bacteria and fungi need to grow.
-
Then divide class into homogeneous groups of 4 to 5
students. Have each student responsible for a task within the group.
(Researcher, Reporter, Scientist, and Multimedia)
-
Have groups research the process of mummification using
the National Geographic website "How
to make a Mummy" or other sites listed below.
-
Using a word processor, groups will create a table detailing
the step-by-step mummification process.
-
Groups will then create their own apple mummy by
using the directions from "Salt
of the Earth" from the Newton's Apple Series.
-
Each group will maintain a journal of the
mummification process.
-
Have each group document the different stages of
mummification by using a digital camera.
-
Then have each group combine their journal entries and images to create
PowerPoint presentation.
-
When all groups have finished their research
projects, each group will present their project to the entire class.
-
If CD-Burner is available, create a CD of all group
presentations to share with other staff or administrators.
Assessment: Students will be evaluated on their
individual task and PowerPoint presentation rubric. Sample (presentation
rubric)
Extension Activities: Each
student will create their own sarcophagus or canopic jars. Read
"Mummies
Made in Egypt" 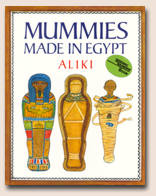
Web
Links: Face
to Face with Mummies Clickable
Mummy Mummies
of Ancient Egypt A-Z
Egyptian Mummies Cyber
Mummy Ask
the Mummy |
|
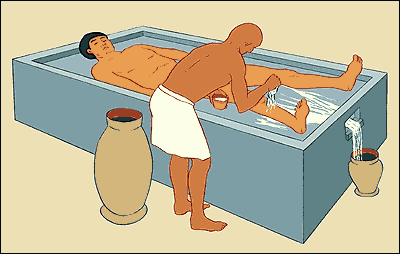
Embalming the
body
The body
is taken to the tent known as 'ibu' or the 'place of purification'

Drying
the body
The body
is now covered and stuffed with natron which will dry it out.
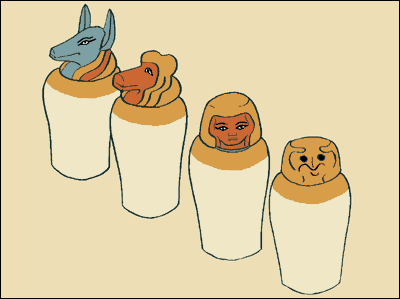
Canopic
Jars
The
internal organs were removed from a body they were placed in hollow
canopic jars.
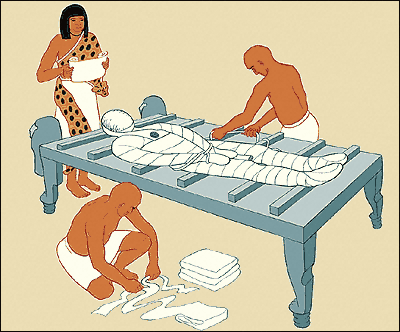
Wrapping
the mummy
A
A priest
reads spells out loud while the mummy is being wrapped. These spells will
help ward off evil spirits and help the deceased make the journey to the
afterlife.

The
arms and legs are tied together. A papyrus scroll with spells from the
Book of the Dead is placed between the wrapped hands.
|


