


Paint Lesson
Creating a Graphic and Saving It
for Later Use
Materials:
Paint program, Kid Pix or other
drawing software.
A photo edititing software.
Pictures of the plants for observing/copying
(optional but very helpful).
A floppy disk per student.
Background:
For this lesson I only teach a small group of students, usually four or five. They become the experts that teach the rest of the class and become available to their peers for help on the subject. If there is something they can't troubleshoot, it is the experts that come to me for help or clarification, so that if it comes up again they can resolve the problem without having to resort to me. If the children are familiar with Kid Pix they can create their graphic using it also.
I teach this lesson at a time when most the class is busy working, i.e. when they are writing in their journals or during math independent practice time, etc. Sometimes I teach the experts at recess time if they chose to stay in.
The students need to have some experience with a photo editing program if you want them to edit their own graphic, otherwise you can edit/crop it for them at your convenience.
The students need to have their
own floppy disk to save their work.
Objectives:
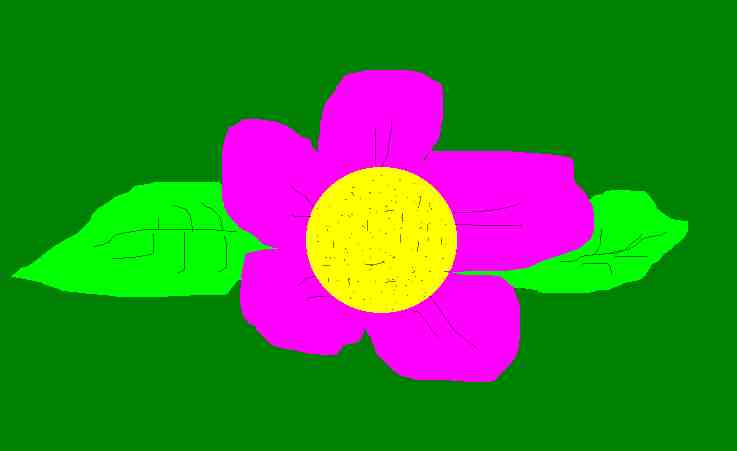
To use the Paint program to make
a graphic of a plant (or flower, vegetable or fruit) to use as an
illustration on a seed packet that
they will create later.
Estimated Time:
20 minutes for each group of 4 or
5 students.
Vocabulary:
Graphic, design, drawing, line,
width, height, label, texture, shading, background, file, save, diskette
(floppy), (A) drive.
Procedure:
1. Have the students open the Paint
program so that they know the entire procedure.
2. Go through all of the tools
(tool buttons) so that they have an idea what they are for.
3. Let them experiment for a while
with the tools. Make sure they try them all. Make sure they know how to
change colors and line width, etc.
4. After they have practiced for
a while have them draw their plant, fruit, vegetable or flower. I ask them
to start by selecting a background color.
5. When they have finished their
drawing have them save it on their floppy disk:
Assessment:
If the student manages to create
a graphic and save it on a disk, he/she is successful and gets credit for
completing the assignment.
Resources:
Garden sites
Kids Gardening http://kidsgardening.com/
Gardening For Kids http://geocities.com/EnchantedForest/Glade/3313/
Kids Gardening Resources http://aggie-horticulture.tamu.edu/county/smith/kids.html
KinderGarden http://aggie-horticulture.tamu.edu/kindergarden/kinder.htm
Kid's Valley Webgarden http://arnprior.com/kidsgarden/
Gardening for Kids.Garden Link Database http://gardeninglaunchpad.com/kids.html
http://mastergardenproducts.com/kidsgarden/
Plant Doctor http://plantdoctor.org/index.html
Growing a pineapple at home http://lofthouse.com/hobby/garden/pineapple.html
Van Dyck's Gardening with kids http://vandycks.com/kids/04-2001/index.htm
Van Dick's Planting Information
http://vandycks.com/planting_info.htm
Cyber Field Trips:
Lotusland http://lotusland.org/
Huntington Library and Botanical Gardens http://huntington.org/
Monet's Gardens at Giverny http://giverny.org/gardens/fcm/visitgb.htm
| Background | Lesson 1 | Lesson 2 | Lesson 3 |
| Lesson 4 | Lesson 5 | Lesson 6 | Extensions |
|
|
