Digital Storytelling
Pamela AuCoin
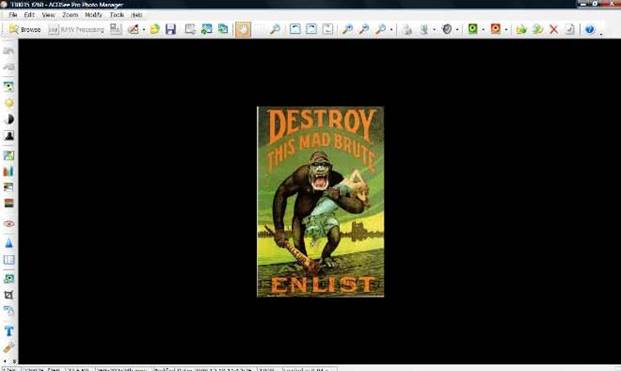
Images are a powerful tool in education; primary sources such as propaganda posters from World War II, photographs from the Civil Rights Era, and political cartoons speak volumes about the time period. Digital storytellers combine images, narration, and perhaps even music to unpack their meanings. Alternatively, students could share their own stories (fictional or otherwise), and use their own images, or those of others, to accompany the narration.
Photo Story 3 software is both free and user-friendly. With internet access and a microphone, downloading the program takes minutes. (Many computers have built-in microphones, and for those that don’t, you can buy a microphones for a few dollars ant any electronics store).
Some sample project ideas:
- Download examples of 20th century Cold-War propaganda, and provide music and commentary;
- Create a photostory for a fictional story
- Using photos of family members, create a "family history" photostory;
- Create a biographical sketch of a major historical character such as Harriet Tubman.
Steps:
- Go to http://microsoft.com/windowsxp/using/digitalphotography/photostory/default.mspx
- Click on "download Photo Story 3"
- Follow the steps for downloading.
- Start your first photo story:
- Open Photo Story 3 program
- Click “next”
- Click "Import Pictures"
- Select images from your file browswer
- Then click “next”
- Add titles in the text box
- Click red button to record text which accompanies picture
- Repeat steps 7–11 for each desired image
- Click “next,” then select music (optional)
- Click "Save Project"
- From the "Save your story" box, choose an activity (such as emailing, etc).
Of course, the next step is for students to publish and share their work with the class. Students should have either an emailed copy of their work, or a file saved on their flash drive.
Recommended sites:
Do
you have a comment or suggestion? E-mail
Pamela
|


