Introduction Lessons
Art is the use of skill and creative imagination in the production of beautiful or thought provoking objects that exhibit taste and or style.
The elements of art are like the ingredients of a cake. Let's compare the two.
When you bake a cake, you have an empty bowl, and you put the ingredients in to create your cake, like flour and sugar.
When you make a piece of art, you have an empty paper or canvas, and you put the elements on to create your artwork, like lines and color.
"Understanding the elements and principles of art helps people talk and think about art." from the Sanford art suppliers web site.
The objective of these lessons is to introduce the students to masterpieces from different periods of history and get them to start thinking about art history as well as be curious and interested in the following lessons. The students will also learn the vocabulary of the elements of art and the principles of design through exploratory games on the Internet in order to prepare them for their art history chronological sort.
Lesson 1: Elements of Art: Color This lesson needs to be taught in a computer lab.
The objectives are: to learn the colors on the color wheel, to learn what the primary, secondary, and intermediate colors are, to learn what the warm and cool colors are, to learn what the complementary color pairs are, learn to mix the primary colors to get the secondary colors.
Time: One 45 minute class period.
Advanced preparation: Make sure you can easily have the students navigate to this web page to help guide their research. You need to have a drawing program like Kid Pix or Adobe Illustrator. The students already have to know how to use the drawing software in order to do the name making.
To Assess the lesson, grade the color sheet below.
Click here to print out a worksheet to go with this lesson.
Have the children use the links below to help them answer the following questions on the worksheet:
For fun try Mixing the colors . COLOR MIXING
Here are examples of student projects form both:
 |
 |
1st: Explain that a hue is a pure color, like red, yellow or blue. Then explain that a tint is created when white is added to that hue, and a shade is created when black is added to that hue.
2nd: Have children read about tints and shades on the URL below, and have them practice making tints and shades on the web site too.
3rd: Have the children use only one hue(color) and its tints and shades to create a picture. Use five small cups. The middle cup will have the pure hue, just blue for example. The two cups on the right will be the tints and the two cups on the left will be the shades.

If you do the project in the computer lab, Kid Pix has color swatches that are petty close to a hues tints and shades. Photoshop or any other graphic program that allows you to use a more sophisticated color picked is better. The students would create the tints and shades and then save them as swatches.
4th: The students need to choose a picture and simplify it so that it is like a stained glass window. The picture must be broken into obvious shapes. In the art studio, coloring books work as good references for them to copy. I recommend having them draw in pen (permanent markers are the best) so that the line is authentic and expresses that child at that moment. (Kids hate this, but it really works better that using pencils. When they use pencils they tend to spend more time erasing than drawing.) A fun resource for this project is a coloring book called, "Start Exploring Masterpieces" by Mary Martin and published by Running Press (ISBN 0-89471-801-1). It takes sixty historic masterpieces and has them represented as line drawings. You can either photocopy the page and enlarge it to be an 11" by 17" or scan it and have the kids fill in the color in Photoshop or Kid Pix. The example above called, "PROJECT ON THE COMPUTER" is done from this book.
5th: After the line drawing is complete have them paint the entire picture with the 2 tints, 2 shades, 1 hue, and black and white.
Just for fun: ON-LINE COLOR THEORY QUIZ
More work with elements and principals: COMPOSITION
An additional idea would be to teach a lesson on, "value" and have the students pick grays that would be the same value as the tints and shades they created.
Lesson 3: Art History Sort This lesson can be taught in a regular classroom.
The timeline links below will be helpful in the creation of the multimedia final project as sources for students to find examples of art from different eras in history.
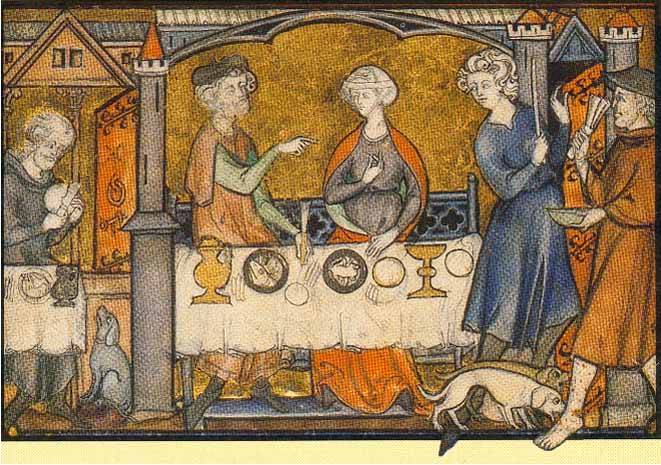
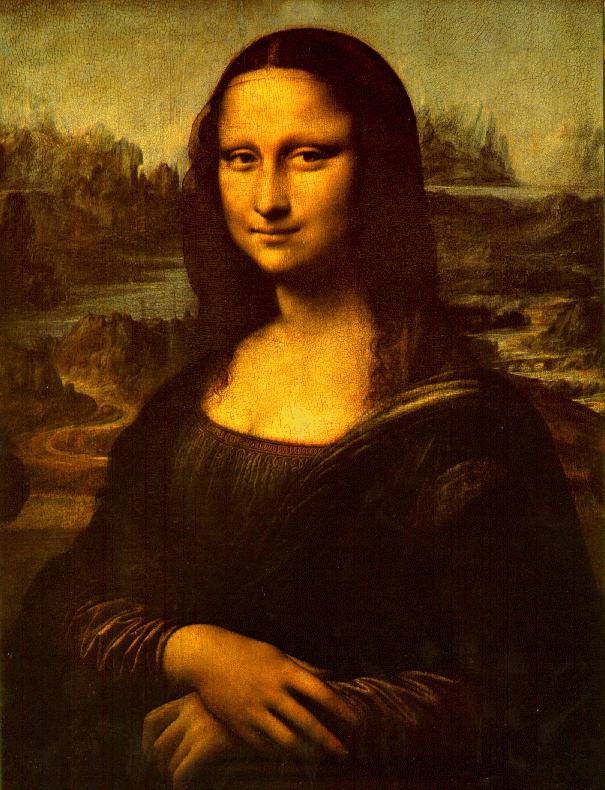
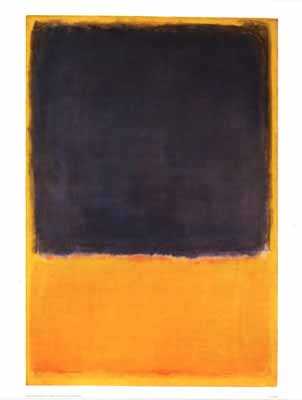
'This lesson does take quite a bit of preparation. The teacher has to have pictures of the masterpieces for the students to use(7 pictures in total- or more). Below I have provided links to pictures to print for this purpose, although teachers may use their own resources as well.
(Please note that these time periods are approximations and not absolute.)
Use the back button to return to this page after looking at the big pictures below.