![]() Lesson Plan
#4
Lesson Plan
#4 ![]()
Simple Bar Graphs
![]()
Duration: 3 days
Objectives: The students will:
Materials:
Each student will need paper
and a pencil.
The teacher will need examples of bar graphs - either from a magazine or
newspapers or self-made.
If possible, place the bar graphs on a transparency.
Each student will need a ruler or graph paper.
Each student will need crayons or colored pencils.
Each student will need
access to a computer with a color printer.
Software: Microsoft PowerPoint
Overhead projector
FAST FACTS ABOUT BAR GRAPHS WORKSHEET
FIVE STEPS TO A BAR GRAPH WORKSHEET
Creating A Chart in PowerPoint
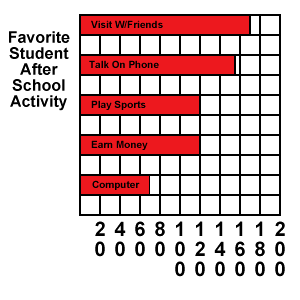
(Example) Of Bar Graph
Key Vocabulary
tally, chart, axis, label, horizontal, vertical, title, scale
Procedure:
DAY 1
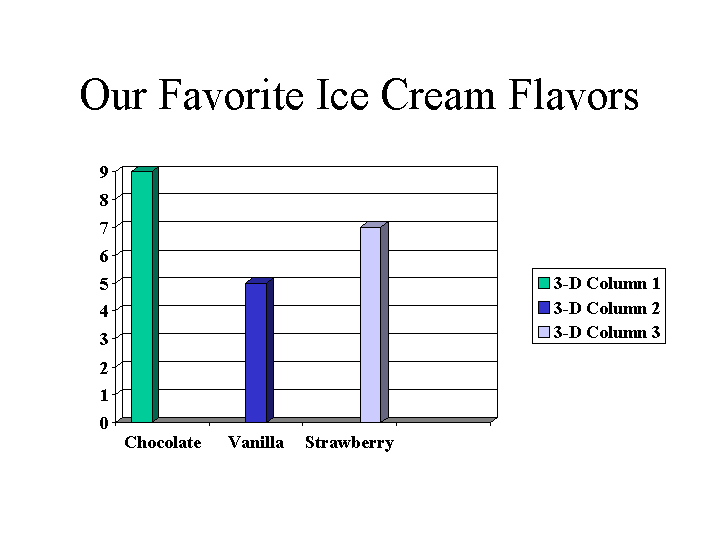
1. As an introductory activity, ask your students a multiple choice question,
such as: What is your favorite ice cream flavor?
2. Ask the class how they would record their votes. Use a tally chart and make a
tally for each vote.
3. After you have recorded each child's vote, look at the tallies and add the
tallies up. Discuss which flavor got the most votes? Which flavor got the least
votes?
4. Explain to the class the all the pieces of information we collected are
called data. Further the discussion by telling the students that the data can be
organized using a graph. A graph will help you organize and compare the data.
5. Using the overhead projector and a transparency, show the students an example
of a bar graph. Begin with a simple graph, like one showing how many boys in the
class and how many girls.)
6. Discuss the parts of a bar graph:
the title - tells you what the graph is about.
the labels - tell you what kind of data is given.
the bars - show the data.
7. Using several more examples, continue to question the students about the data
collected. Reinforce the key parts of a bar graph so the students will become
familiar with them.
DAY 2
8. Begin today's lesson using several more examples of bar graphs. Review the
parts of a bar graph and how to read them.
9. Remind students of the data they collected yesterday. Explain to them that
today they will organize this data by constructing a bar graph.
10. Give each student a sheet of white paper or a piece of graph paper. Remind
them to plan ahead so they have enough room for a title and for the graph.
11. The students should then create a bar graph using the data collected the day
before which may be posted on the chalkboard during this lesson.
12. The children should use crayons or colored pencils to construct the bars of
the graph.
13. Students should turn in the completed bar graph before leaving class, so
that the teacher may assess the class's level of mastery.
DAY 3
14. Return the students bar graphs that they created yesterday.
15. Using the computer lab, have children create a bar graph using Microsoft PowerPoint.
16. Students should print the final copy of their bar graph. (Example)
PowerPoint Tutorial
Creating A Chart in PowerPoint
Assessment:
Questions and answers during
the class discussion. Additionally, the final copy of the bar graph will
determine whether the students understand how to read a bar graph and how to
construct a bar graph.
Students will take the Online
Bar Graph Quiz
Home Learning:
In this pdf, students can look at a simple bar graph and then take a class poll and complete the blank one.
Extension Activity:
Students will be given a roll of Life Savers Candy to take home. They will make a bar graph that depicts the colors found in their Life Saver's Roll. Students will label the different parts of the graph. Students are to generate questions regarding their results. Students will compare and contrast their findings in class.
![]()