
Web Page Design Tips
Using FrontPage
Add a guestbook, poll, or feedback form
In FrontPage you can design your own feedback forms and confirmation pages, though you must be on a server that supports FP server extensions. Since you are all using subwebs of teachersnetwork.org/teachnet-lab/, it can get tricky.
I recommend creating your feedback form at a free site like htmlgear.com and then linking to it. They will gather, compile, update, and store your form results for you automatically.
The directions on the site are clear. There are currently eight "free gear" options. A feedback form allows visitors to send you feedback without your having to give out your e-mail address. A guestbook allows visitors the chance to read other people's comments and add their own. A poll lets visitors vote and see a running tally of votes on your particular topic.
Let's go through the steps to creating a feedback form.
1. Go to: http://htmlgear.lycos.com/ . Sign up for a free membership by entering a member name and password.
2. Scroll down the page to the "personal gear" box and click feedback gear. Click the get this gear link. Now this screen appears for formatting:
3. Follow each step - create a title for your feedback form; enter your e-mail address for results; determine the subject line of that e-mail for easy reference; decide if you want to send users an auto-reply message after they submit the form; choose which button you'd like to appear on your page; select font style and size; and finally the colors for the page that the form will rest on. If you do not know html, the easiest way to do this is to enter the URL of your index page (e.g. I put http://teachersnetwork.org/teachnet-lab/thanksgiving/example4.htm because that's the address of my Thanksgiving page.) Htmlgear will automatically format the html for you using this color scheme.
4. Click "save and update" and the following screen will appear with the html code for your form:
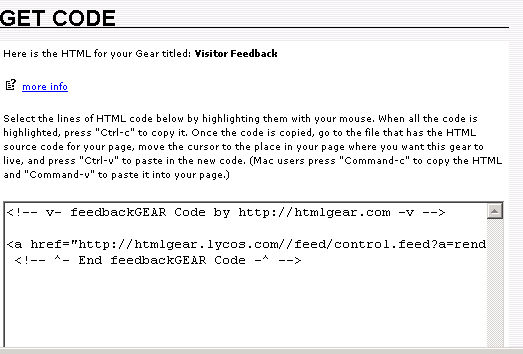
Don't panic! Highlight the code in this box and press "ctrl - c" to copy it. Switch to your FrontPage thanksgiving page, change the page view from "Normal" to "HTML"
You are going to paste it into your page, at the bottom, which means just above the </body> tag. I had to put mine higher because I wanted the image credits to stay below the feedback form. This is where I pasted "ctrl - v" my tag:
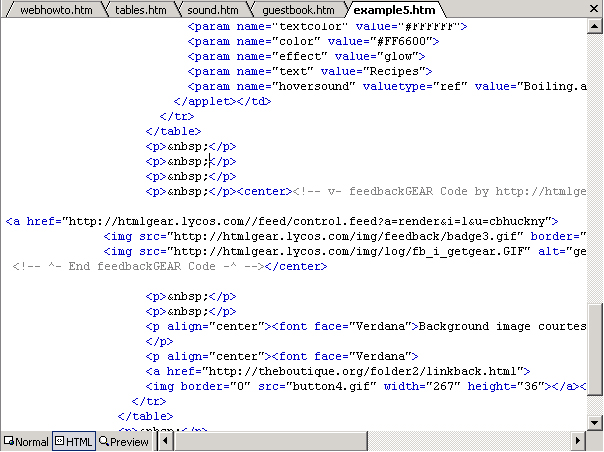
You can see that my hover buttons are above the tag, and my background image button and link are below it. I had to center it by adding <center> just before it and </center> just after it. See my page
5. Switch your page view to "preview" to see how it will appear on your page. When satisfied, go back to htmlgear and click "done."
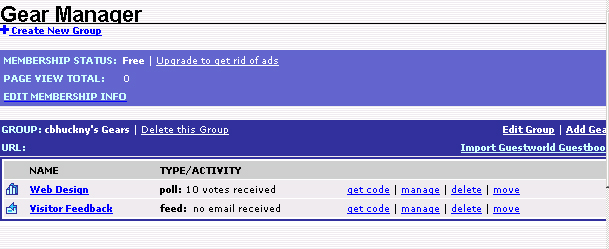
6. The gear manager page will appear. This page contains all the gear tools and their project names. You can edit them at later times. Here's my page, I made a web design poll last month and you can see my new feedback form:
7. To test your form, open your page in your browser and click on the link.
8. Try adding one of the other elements to your page. The procedures are similar, and there are built-in help menus along the way.
Next: Upload your files