"To Fly is Everything"
Lesson 3

|
|
"To Fly is Everything" Lesson 3
|
|
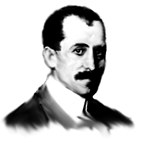
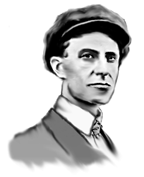
On December 17, 1903, the Wright brothers showed the world that man could fly. Their invention of the airplane astounded everyone; poor people, rich people, and especially the middle-class people. At first it was not as great a hype as some other inventions during its time because of how dangerous flying still was. But through various twists and turns, the airplane was able to become a great success in the 1920s and even gaining the rank of being one of the most important inventions of the 1920s.
The Airplane Click on this link to learn more and watch cool movies.
Virtual Museum: The Invention of the Airplane
Duration:
5 days
Objectives:
Students will :
Conduct an experiment in which they change the size, weight, and wing structure of paper airplanes to see how each plane flies.
Know that some objects occur in nature, whereas others have been designed and made by people to solve human problems.
Know that designing a solution to a simple problem may have constraints, such as
cost, materials, time, space, and safety.
Materials:
Paper for making paper planes
Key Vocabulary:
aerodynamic, thrust, wingspan, speed. altitude, distance, launch, pilot, flight, duration
Procedures:
|
||||||||||||||||||||||||||||||||||||||
Assessment:
You may not want to assess students on the airworthiness of their planes but rather focus on how well the students participate in class discussions regarding the paper planes.
Home Learning:
Students will design their own airplane at home and complete the following DATA SHEET.
DATA SHEET
Name ____________________________ Date __________________
Type of plane ____________________________ (ie. paper clip plane)
Distance flown:
Trial 1 __________
Trial 2 __________
Trial 3 __________
Trial 4 __________
Trial 5 __________
Shortest trial ______________
Next __________________
**Next __________________
Next __________________
Longest trial __________________
Average (**) __________________
Other information:
Extension Activity:
Make several different designs of planes. Give students the opportunity to “pilot” them, each student working with all the planes, “launching” them all the same way, so that he or she can see how design affects altitude, duration of flight, and distance.