Tuesday Computer Lab Kid Pix Slide Show Part One Bill Peet
I strongly recommend clicking on this link to read the users guide for Kid Pix before doing the next two lessons.
Install Kid Pix on the computers.
Make an alias of the start up icon.
How to make alias: Click on startup icon one time to select it. Go to the finder and under file select "make alias". This will make a copy of the startup icon. Drag the extra startup icon to the desktop or another easy place for your young students to find.
Practice using the software so you feel comfortable demonstrating to your students.
Step-by-step Procedures
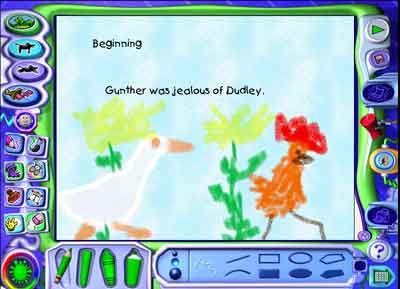
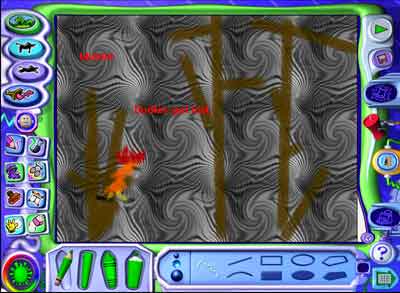
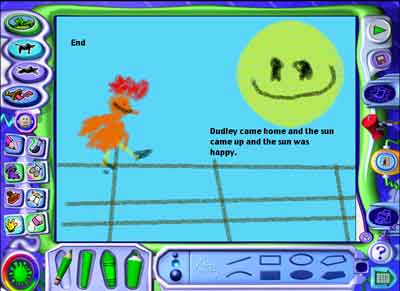
Objective: Students will learn to make a multimedia report retelling the beginning, middle and end of a story.
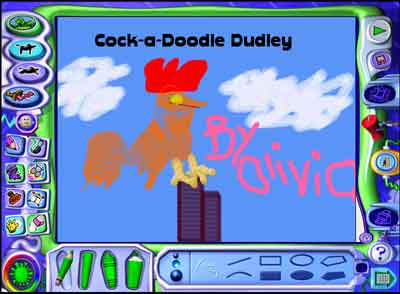
Anticipatory Set: Bring the book "Cock-a-Doodle Dudley" by Bill Peet to the lab and discuss what happened in the beginning, middle and end.
Input: Here's where you teach them how to use the software. They will sit and listen for your whole brief explanation and then when they go to their own computers, you will guide them too.
1) Show them how to enter their name and click on "OK".
2) Explain how the interface looks like a dashboard of a car, because it is from this place that you "drive" to the event you want to do.
3) Today we are going to learn about dragons and then you will create your own dragon. Click on "Fact Book". You will see a picture of a dragon under fantasy. Click on it and then click on the speaker and the computer will read the passage to the students.
4) Click on stop to go back to the "dashboard" and tell them that it's time to make the dragon.
5) Click on the "new" button to start the story. You will see a choice of backgrounds. You might want to let an attentive child pick which background to use. Click on it once and then show the kids how the blue arrows on the sides change the picture. Tell them that clicking on the blue arrows always gives you more choices in this program.
6) The palette floating on the left is filled with stickers that you can click and drag to the picture and drop. The blue arrows at the top let you choose categories and the blue arrow at the bottom give you more choices within that category. The dragons are under the fantasy category. You will have to click the blue arrow at the bottom once to find the dragon. Drag it to the picture and et a student decide where to put it. Explore how the sticker changes as you move it around.
7) If you click twice on the sticker another palette pops up, which is the animation palette. Experiment with the different buttons and watch what happens to the dragon. You can record the sound that the sticker makes here. Your students can create a voice for their dragon and add it to their show.
8) All the palettes that pop up have a "disappear box" in the top left corner. If you click on it the palette disappears and docks itself on the bottom navigation bar. To retrieve it again just click on the space on the navigation bar where the palette is docked.
9) Show them how to write by clicking on the "A" docked down on the navigation bar. This pops up the text palette. Explore together the different sizes and colors. Then write about the dragon introducing himself.
10) Click on the speaker on the navigation dock and you will see an icon of a musical note. Click on it to see the samples of music you can add to the show. Each different colored note is a different tune. Try a few together and select one that fits the personality of your dragon.
Modeling:
11) Now click the save folder and save the show then click on the stop sign to get back to the "dashboard". Then click on the "view" button to view the show.
Checking for Understanding: Quiz the students on what you taught them by going through the steps and asking for guidance.
Guided Practice: Send them off to their own computers to make their shows. Walk them through the steps as they go the first time.
Closure/Informal assessment: Get out a talking piece (I use the learning ball) and pass it around letting the students share what they learned.