Download and unzip the TeachNet Curriculum Unit Template.
We are in the process of purchasing multiple licenses of Dreamweaver for the Macintosh.
Email admin@teachersnetwork.org to request a copy.
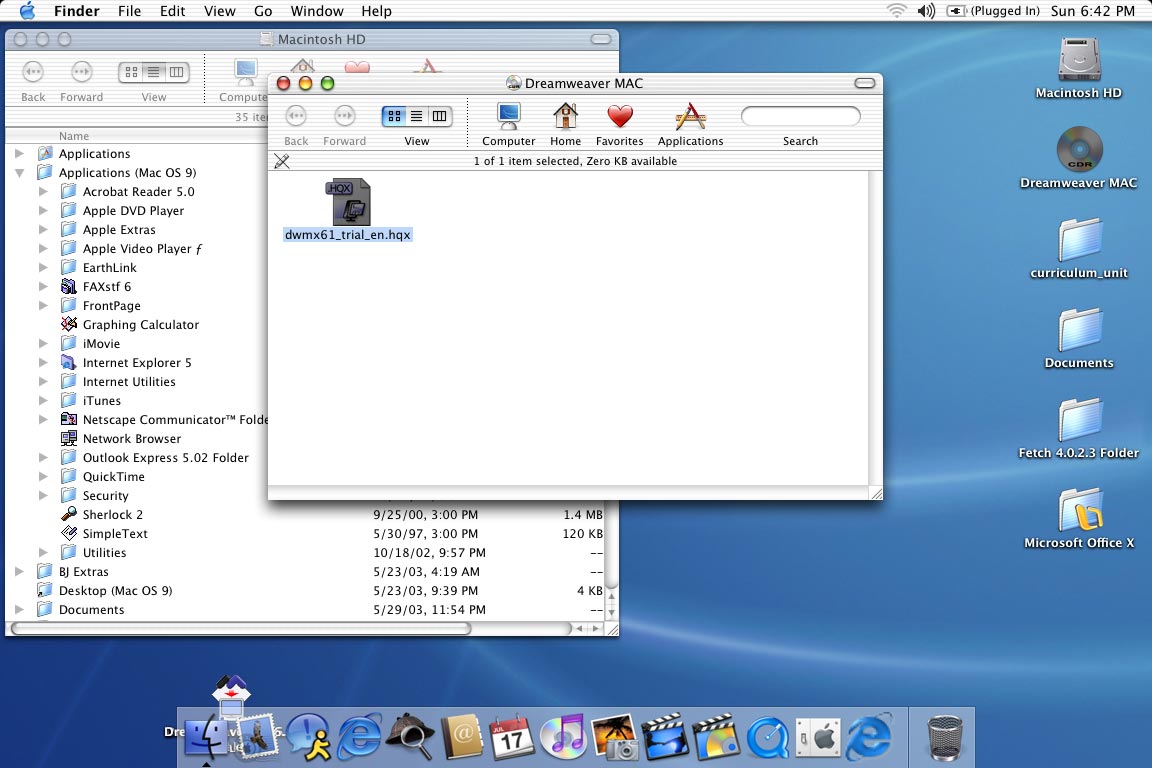
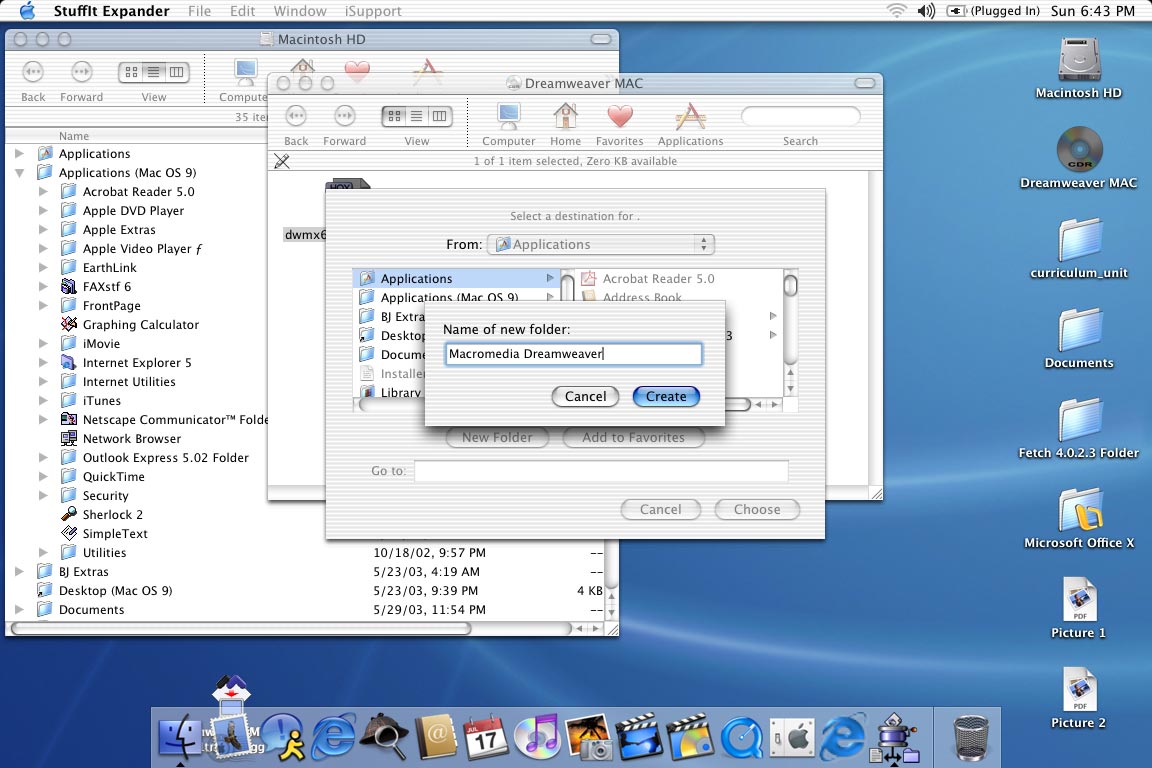
Locate the folder where you downloaded to and double click.
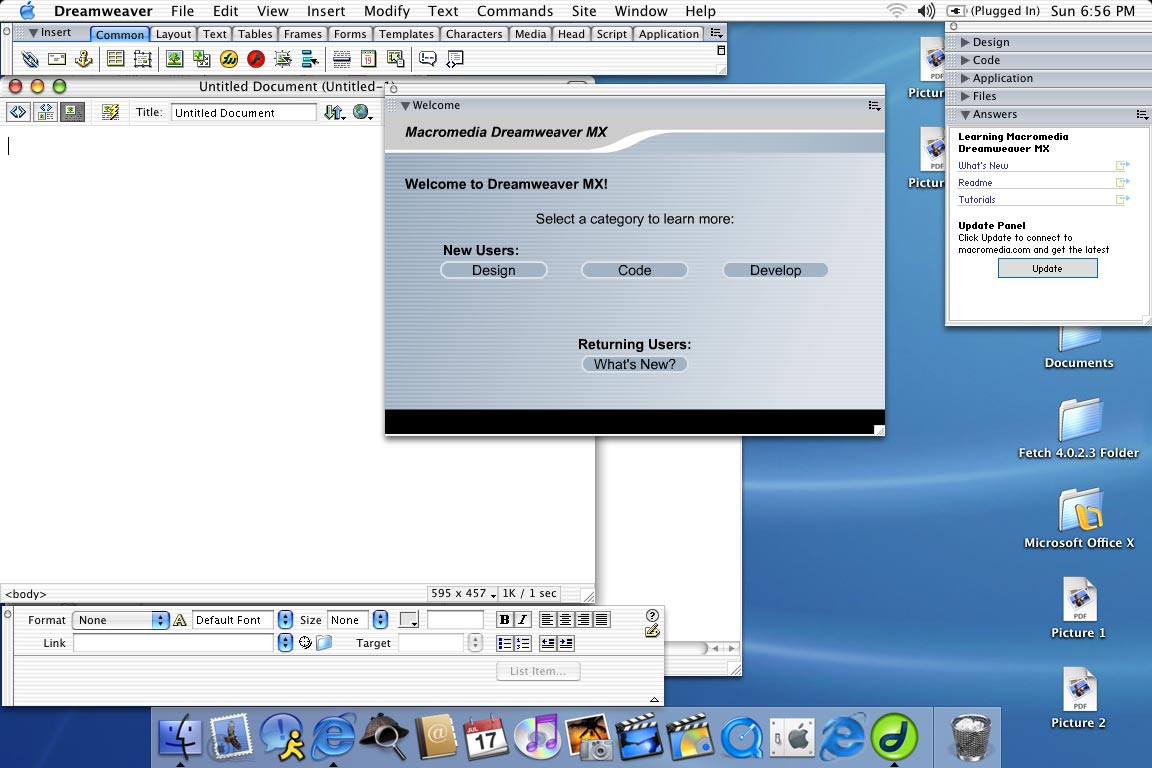
Be sure and check out tutorials and forums located in the Help section.
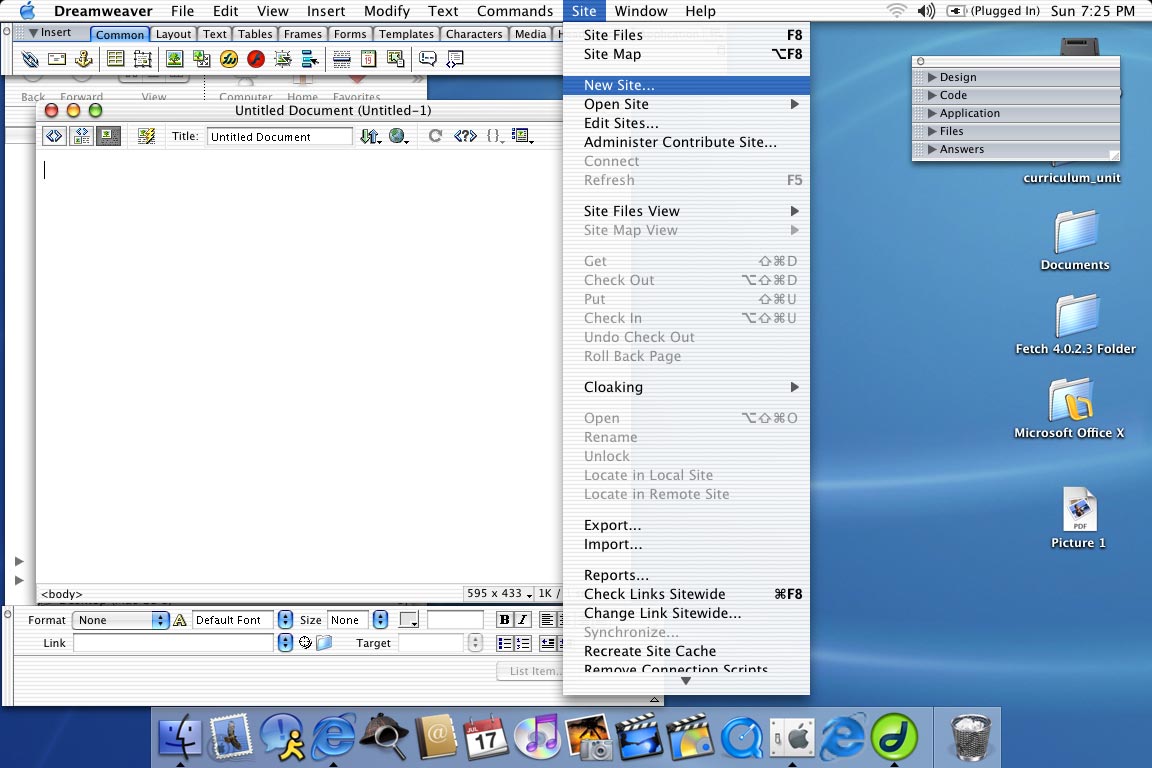
The Site Definition dialog box will appear.
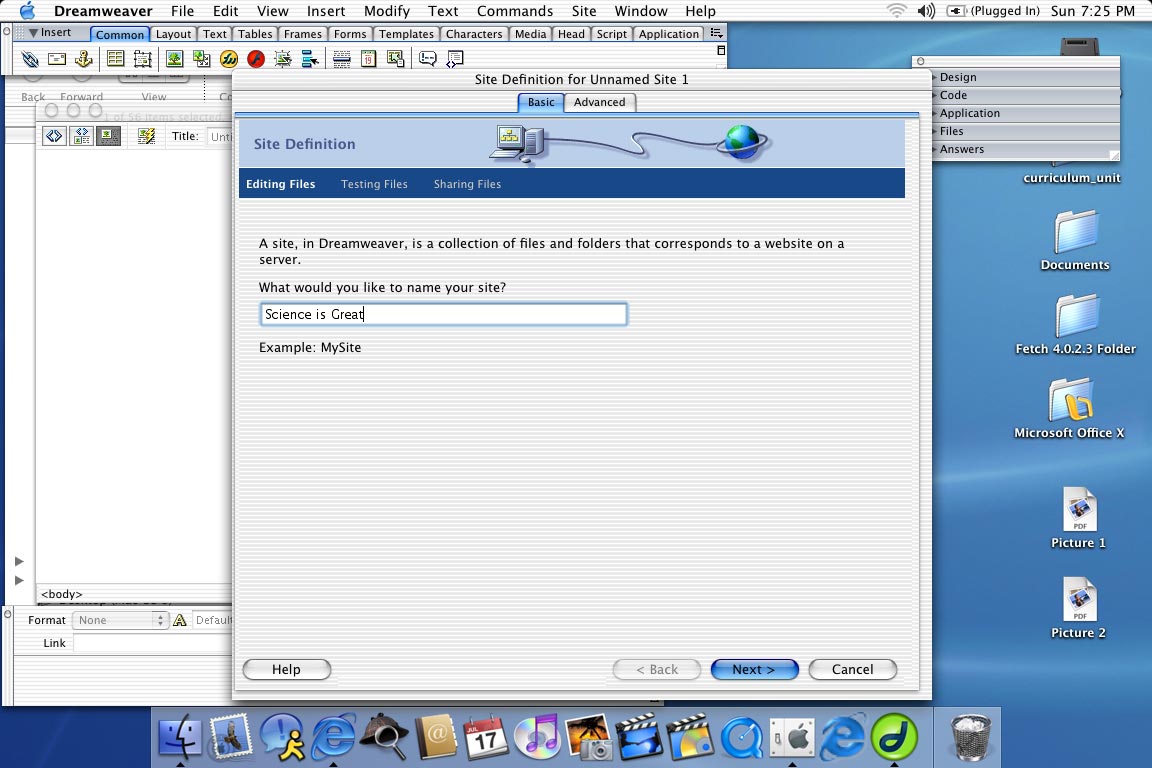
Give your site a name.
I chose "Science is Great".
Select Next.
Select Next.
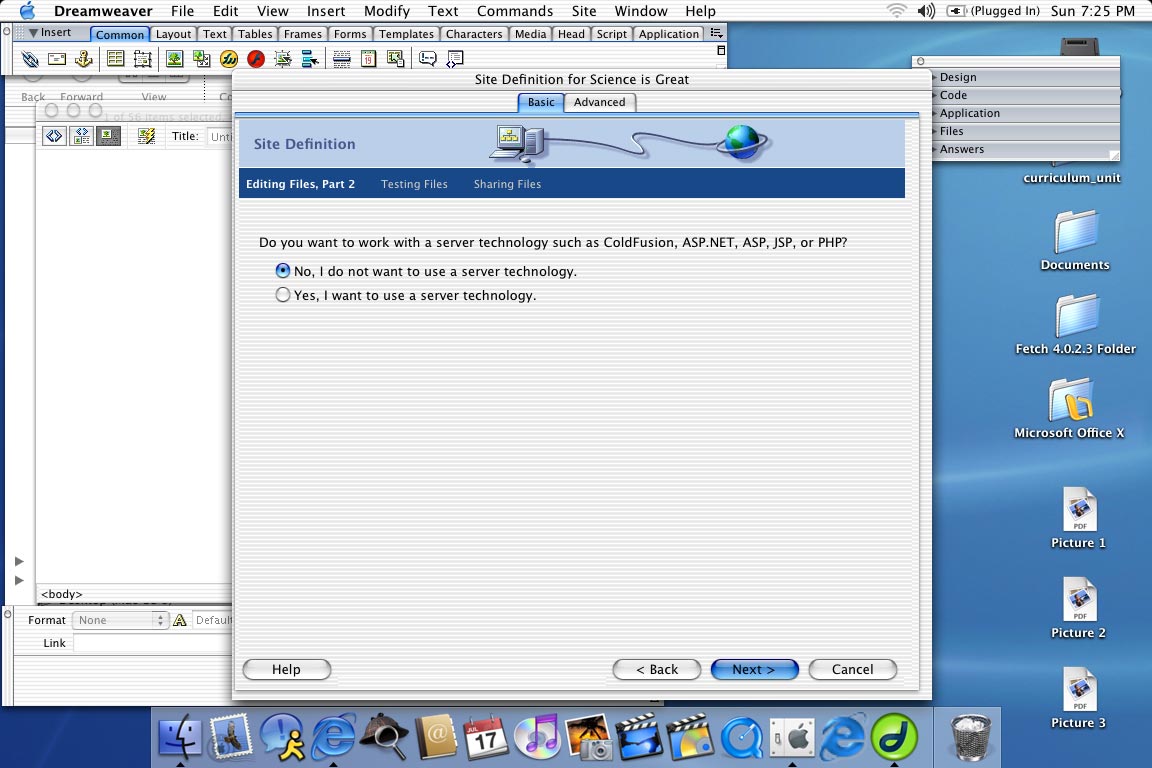
Make sure that the option to edit locally is chosen.
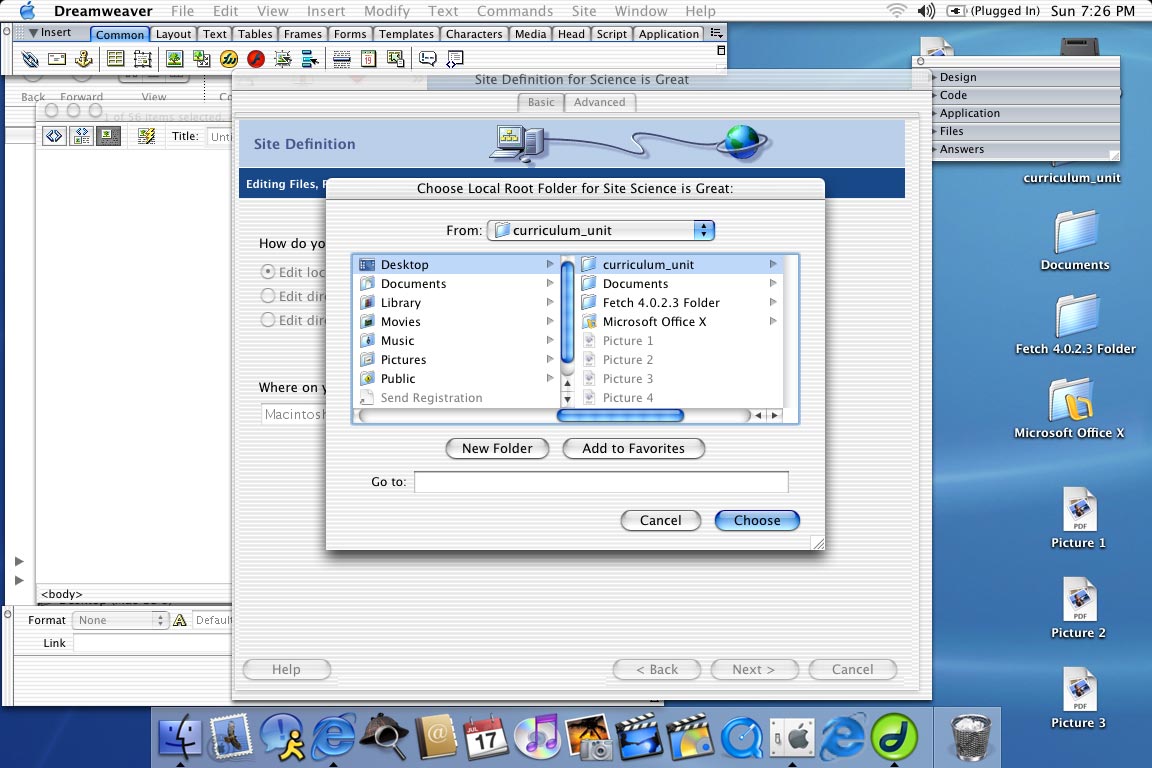
Next, by selecting the blue folder icon, locate the folder "curriculum_unit"
that you downloaded in step 1.
This folder contains all the files needed for your TeachNet project.
Choose the folder and then select Next.
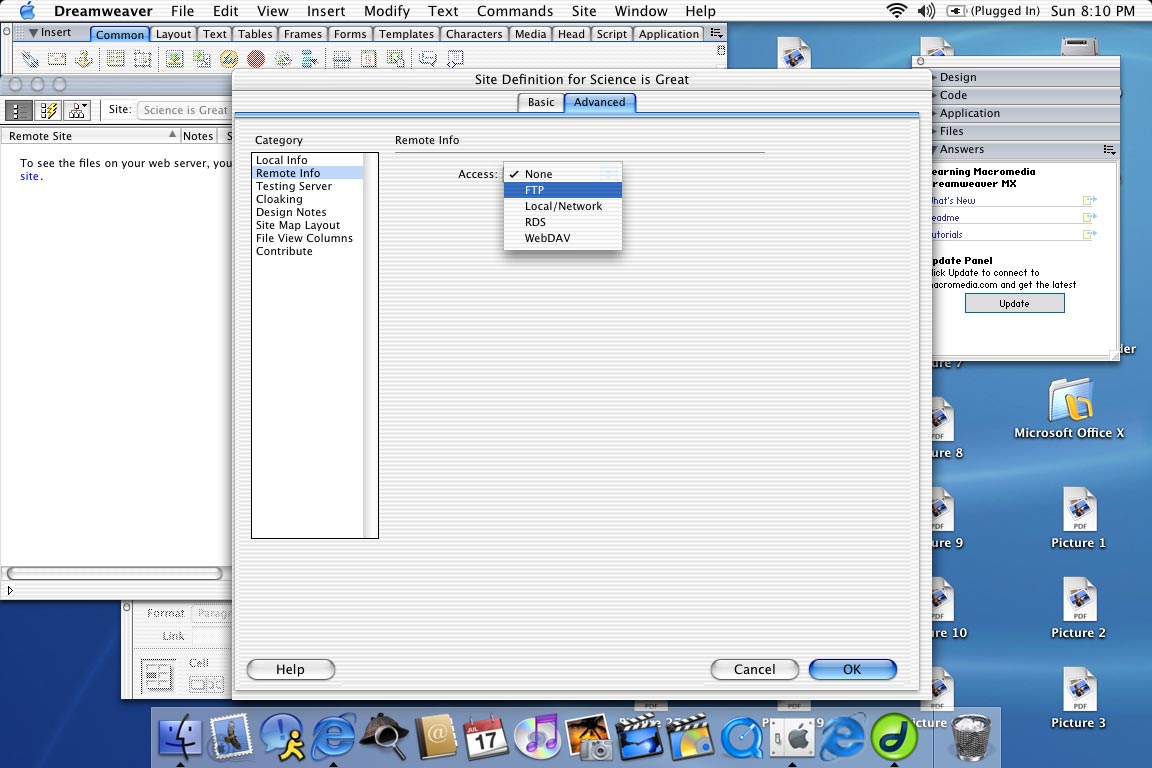
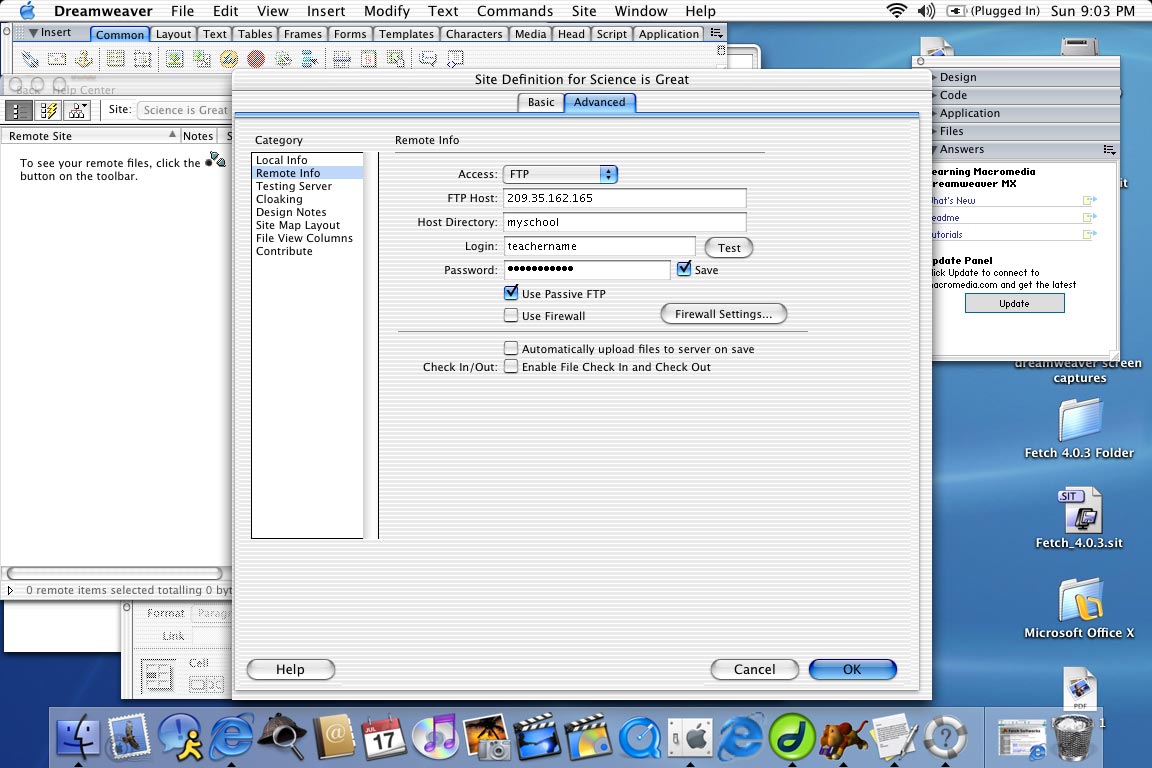
Fill in the form with the information below.
TeachNet will provide you with the following:
- Host Directory
- Login
- Password
Select the Save and Use Passive FTP options.
Test the connection.
Select OK.
Email admin@teachersnetwork.org
with issues.
A summary of your choices will appear.
Select Done.
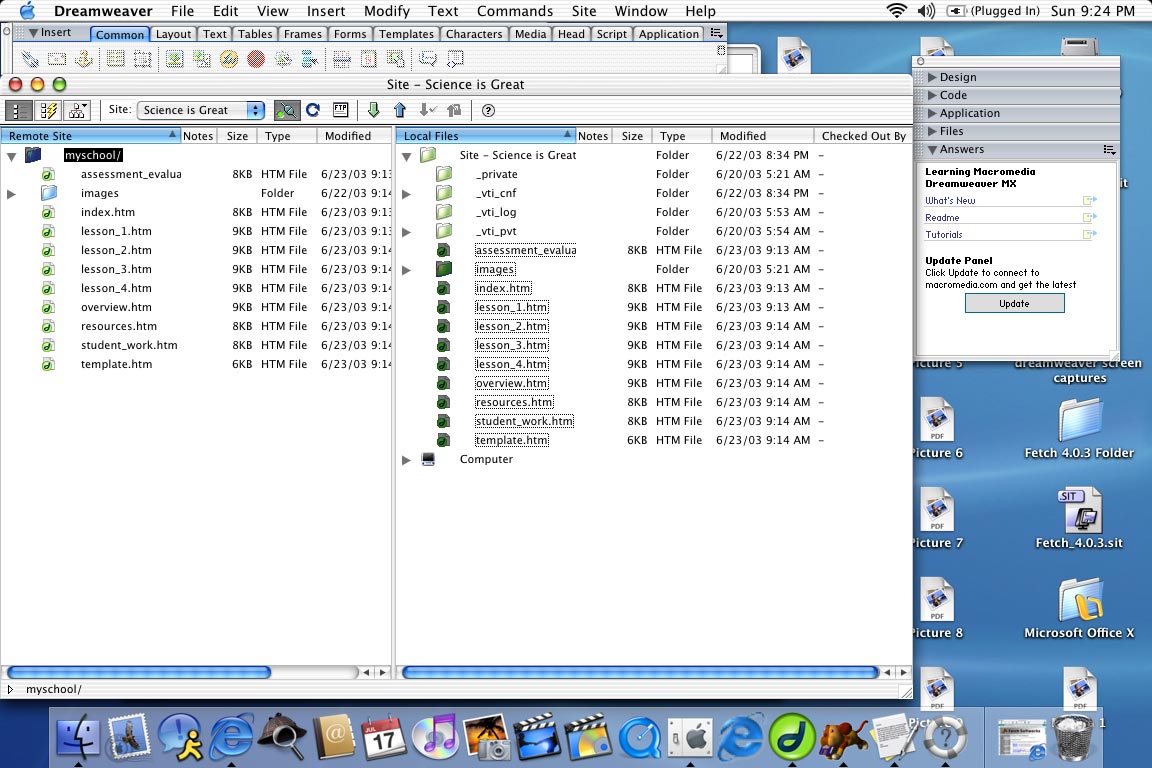
Dreamweaver will now create the site.
All the files in the curricullum_unit folder will appear on the right
(Local Files) of the Site window.
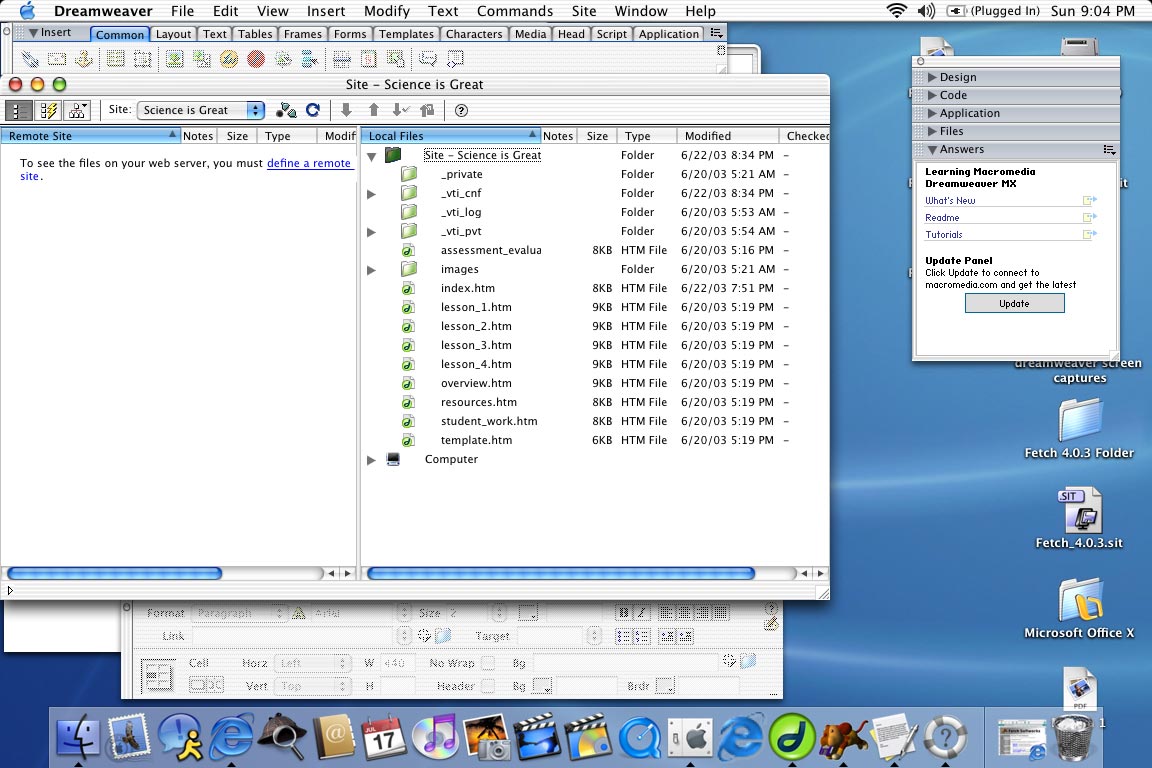
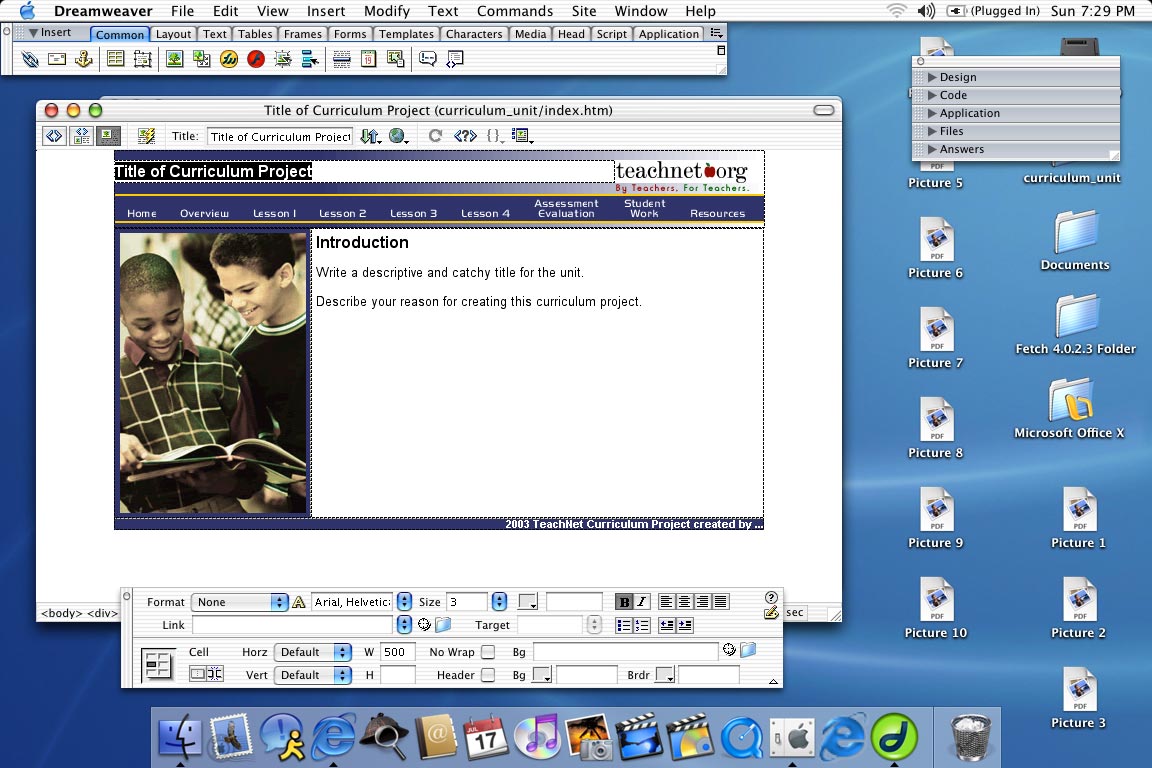
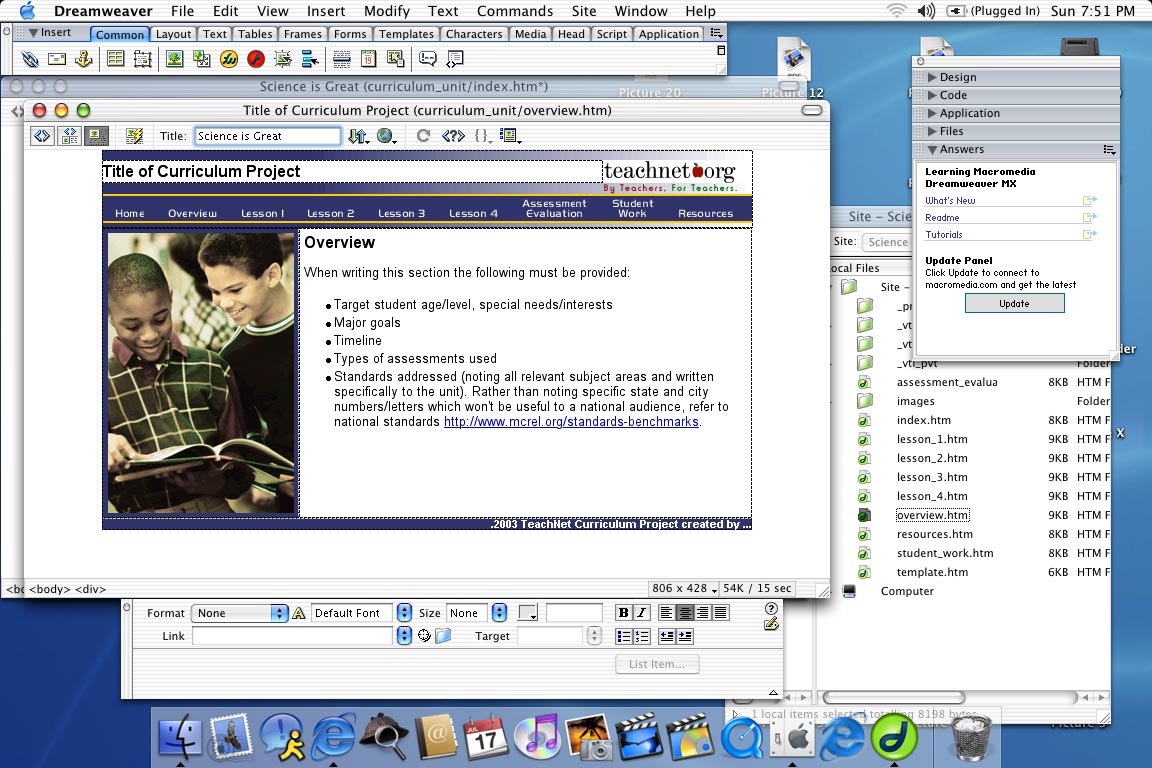
The index page is the first page your viewer will see.

This will need to be done to all your pages when you initially edit them.
Read the suggestions that have been provided in the content area of the page.
Please adhere to them, so your project meets our standards.
Save and close index.htm.

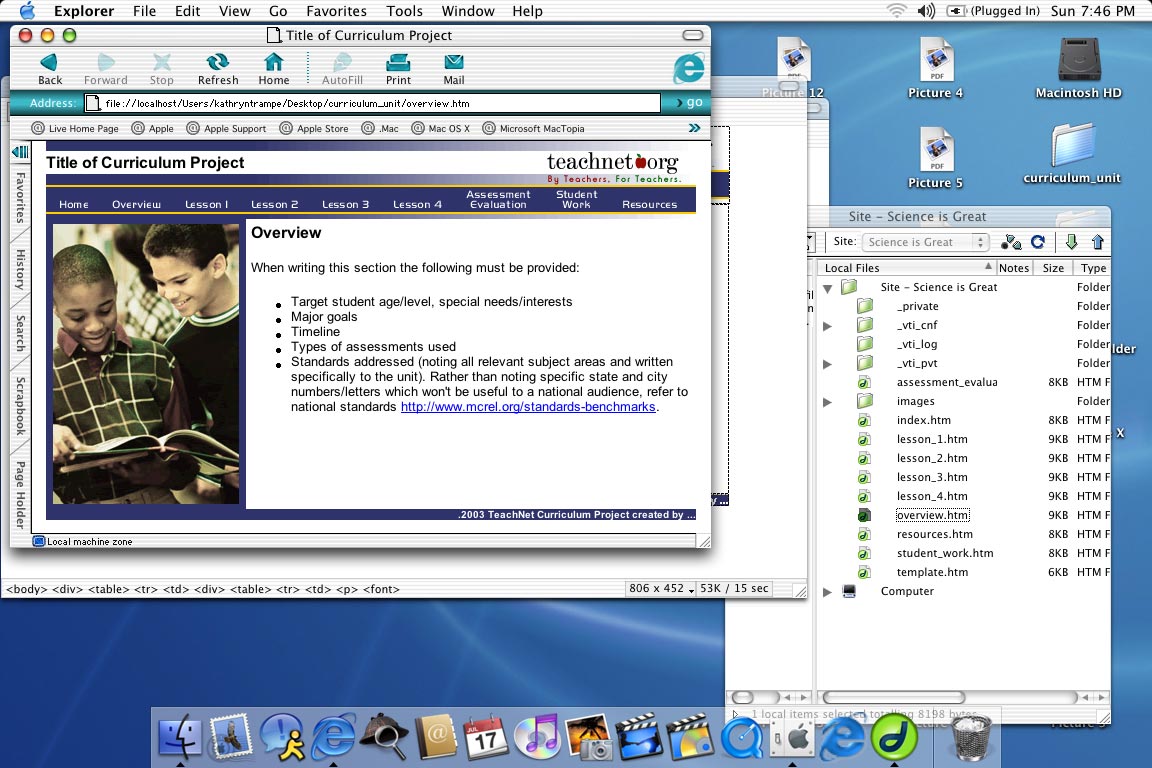
Select File > Preview in Browser > Internet Explorer (or other browser option).
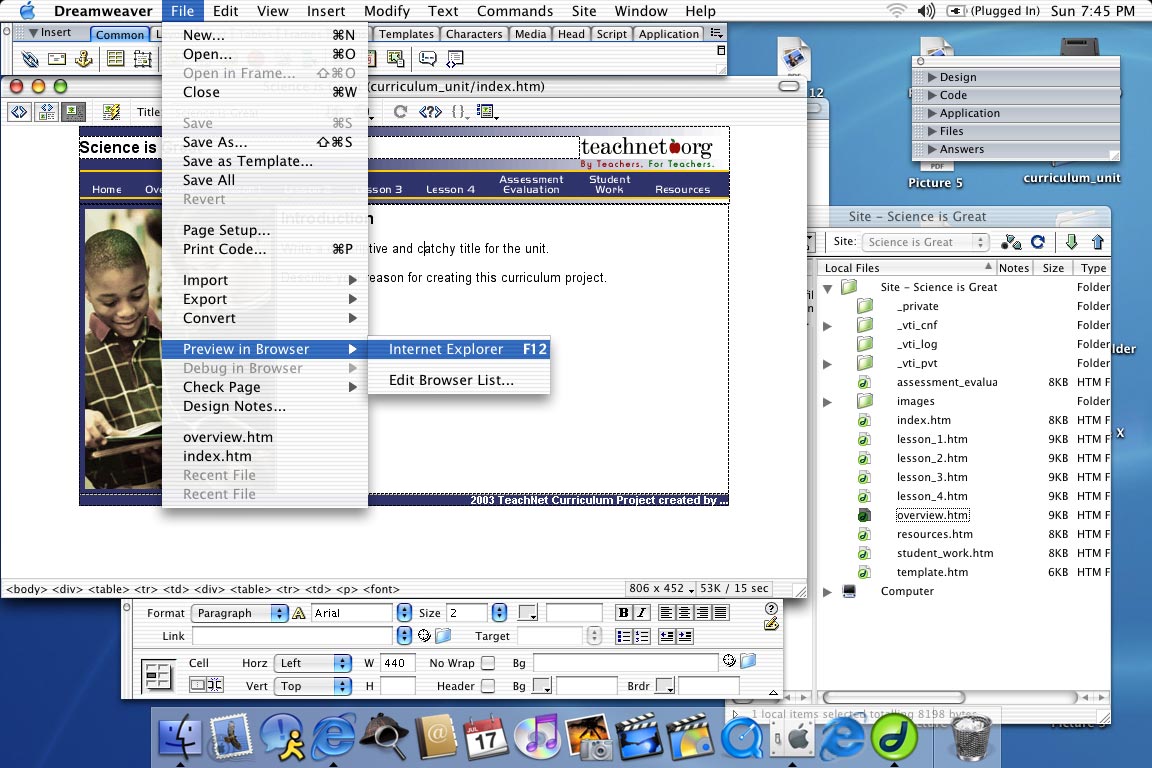
Go to Home which is the index page.
Assess the other pages.
Plan your content.
Edit the other pages:
- lesson_1.htm
- lesson_2.htm
- lesson_3.htm
- lesson_4.htm
- assessment_evaluation.htm
- student_work.htm
- resources.htm
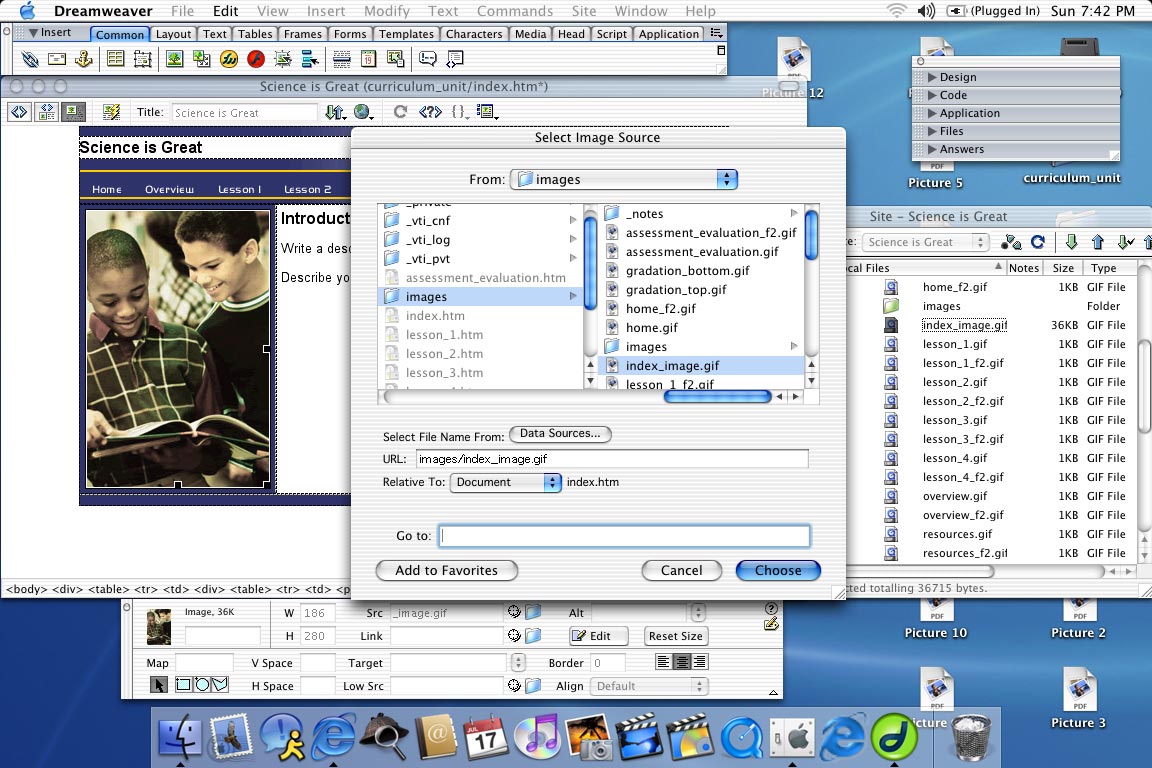
Change the image on the left.
Prepare images relevant to the content of your curriculum unit.
They must be 186 pixels wide x 280 pixels high.
Save your images to the folder titled "images" withing the curriculum_unit
folder.
Select the image of the 2 boys.
Open the Properties window.
Window > Properties.
Note in the area called Src the image is titled _image.gif.
Select the icon of the blue folder next to the file name.
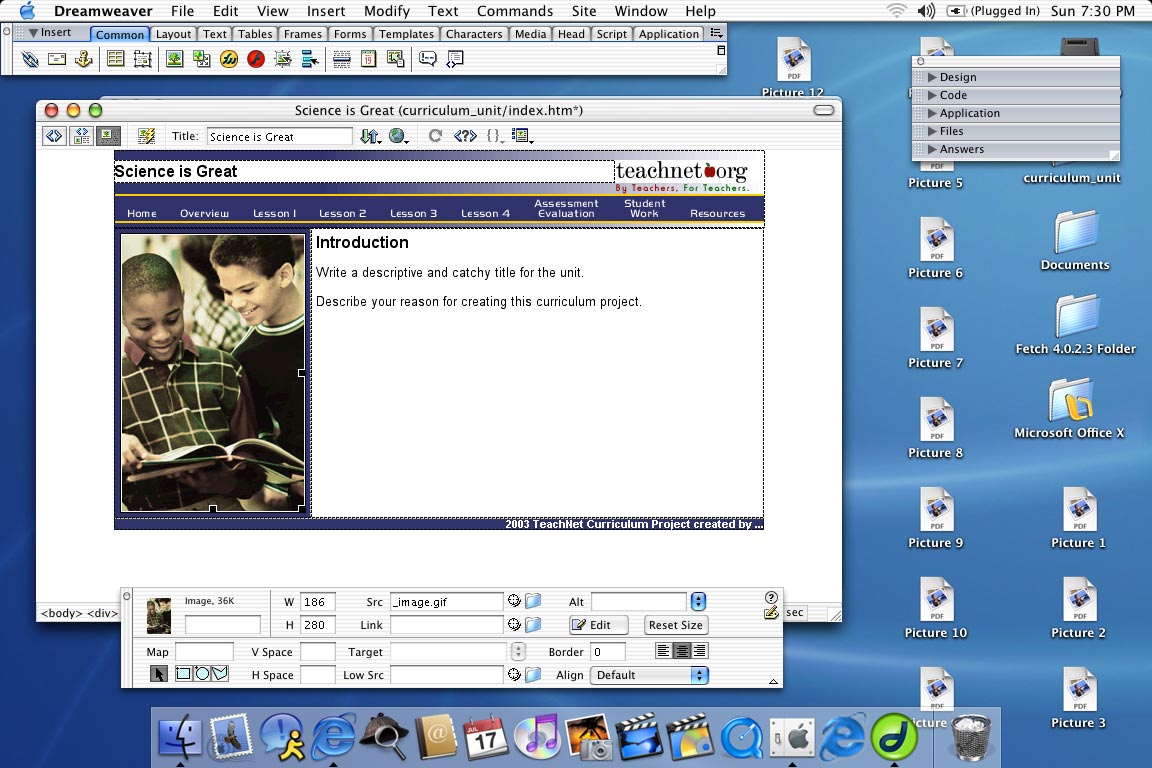
Select Choose.
Once you are done filling in the content and changing the pictures
on the left, close all your files.
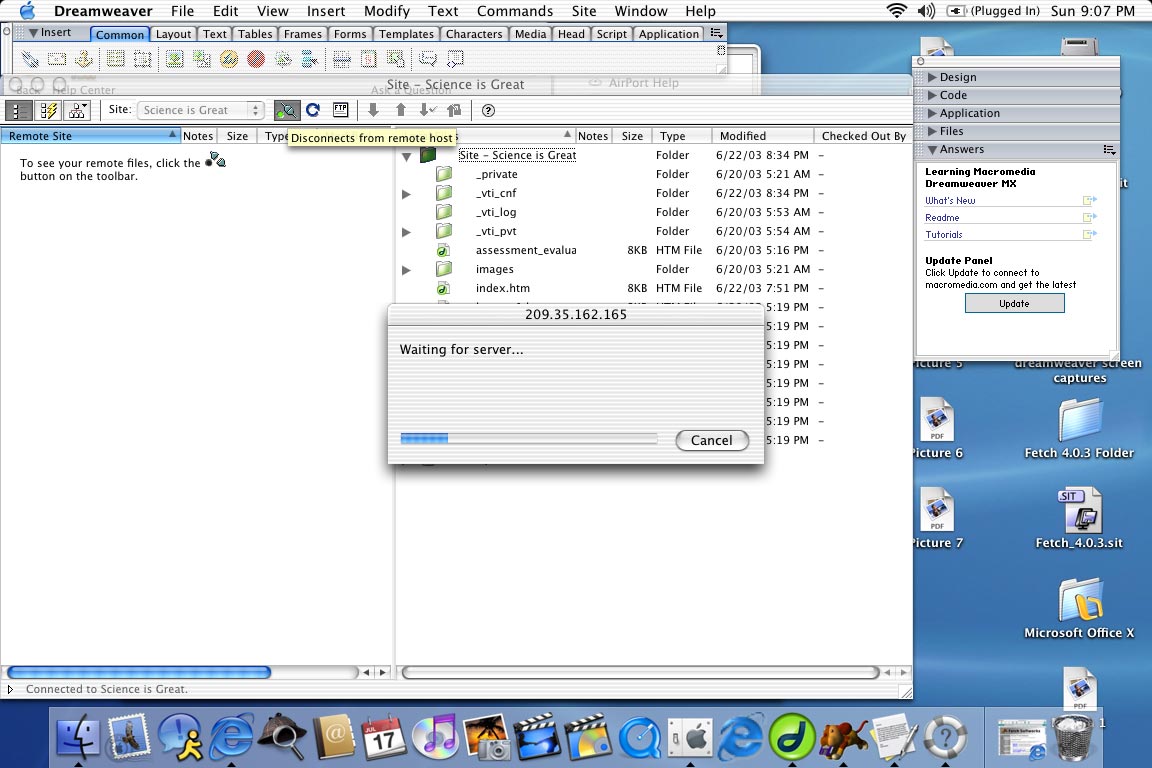
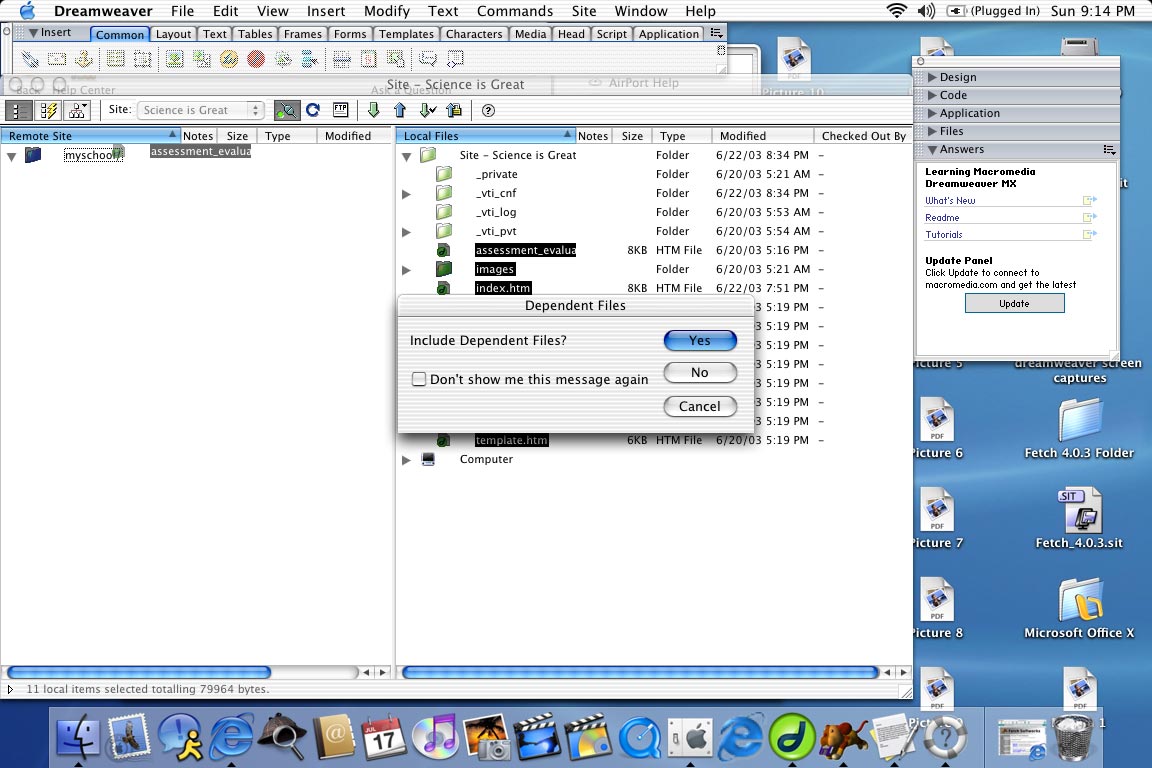
Open the Site window.
Window > Site.
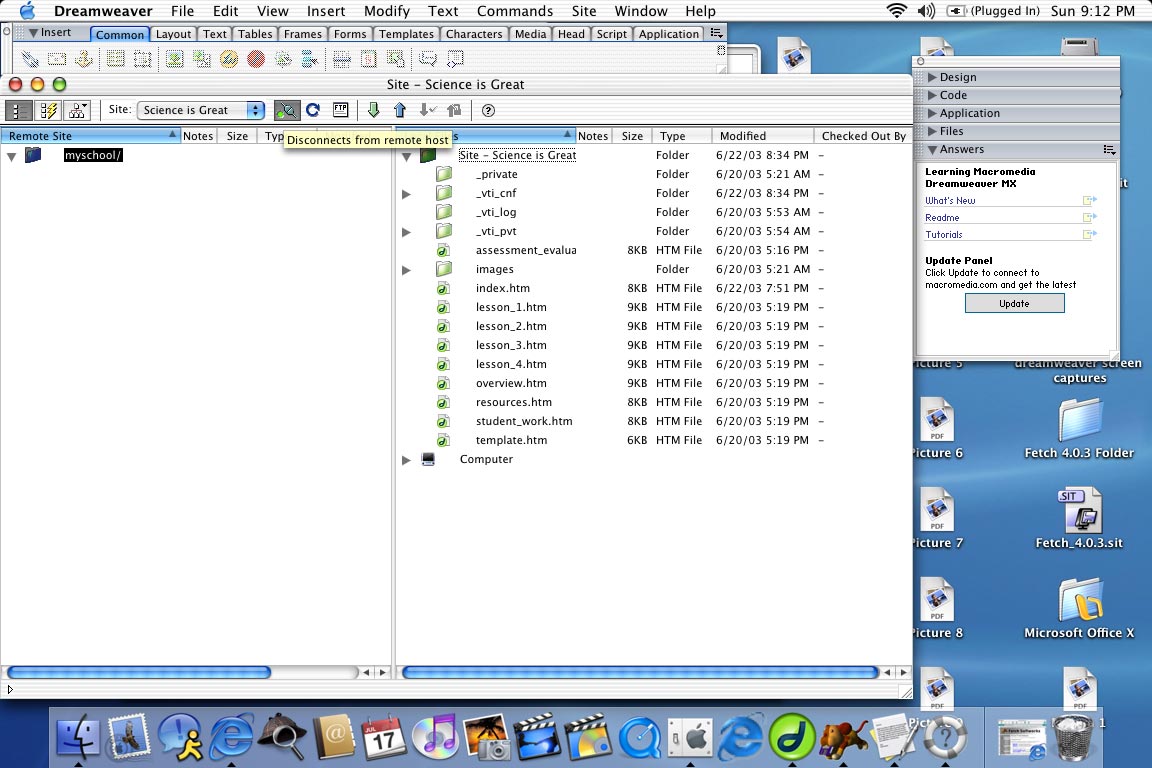
Click on the icon of the green plugs.
You will be connected to your designated folder on the TeachNet server.
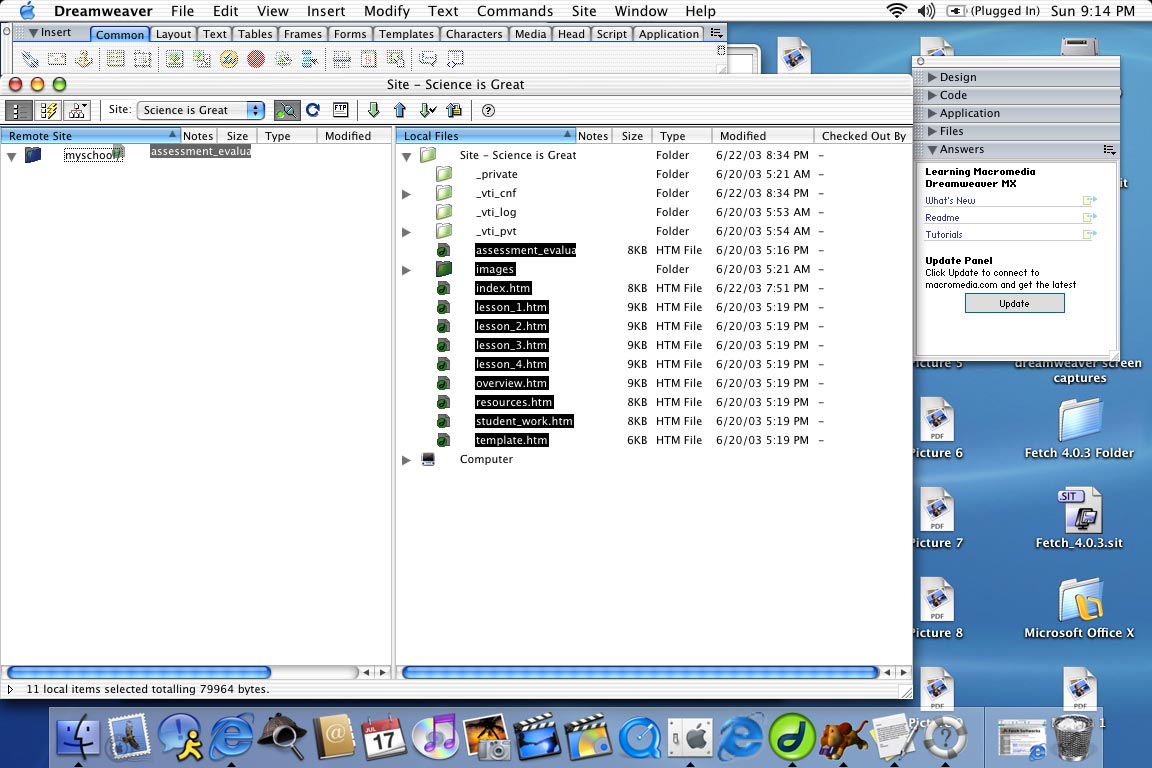
Drag and drop them on top of the folder icon on the left.
Do not rush this step.
It may take a few tries to "grab" the files and drop over the folder icon.
Login to http://teachersnetwork.org/teachnet-lab/
Place your directory name after .org/
You now may view your Curriculum Unit on line.